

Technical climbing info
- Mountain: Mount Hood
- Elevation: 11,250ft
- Route: Cathedral Ridge
- Length: 4000ft*
- Grade: III, 4th AI2-3
*This length is from the bottom of the Yocum traverse to the top of the peak. However, there is a lot of gain and loss that is not reflected in that number.
The Plan
There are really 2 ways to climb the Cathedral Ridge. Either approached by Lolo Pass, all the way from the far northwest flank of the mountain. While scenic and pure, it requires climbers to somehow get back to their car when descending to Timberline. Alternatively, it can be approached from the good ole south side. It begins with crossing over the Illumination Saddle, then the Reid Glacier, then the Yocum Ridge, then the Sandy Glacier, and then finally make the way onto the Cathedral Ridge. This effectively circumnavigates half the mountain.
Without having good enough friends to even consider asking anybody to shuttle us from parking lot to parking lot, we’d be choosing the big traverse option. (FYI: no friend in the world is good enough to do that shuttle.)
We had been eyeing this route for a long time, for the better part of the last 2 years really. Our crux in planning had been identifying a weather window that met the following criteria:
- Earlier enough in the season to be iced over
- Warm enough to not make the experience a living hell
- Low avalanche forecast
- 2 day window
The window finally came, and we decided to go for it.

Day 1: THe big TRAVERSE
Let’s just skip to Illumination Rock
Arriving to Illumination Rock, we chatted with another team. Surprisingly enough, they had been considering climbing Cathedral Ridge but opted to go for the Leuthold Couloir instead. It would be a major coincidence to have another party on such an uncommon route. Surprisingly enough, they also happened to recognize us from this very blog…yes this one right here (guys, if you are reading this, hi!). They mentioned looking at our packs they figured we were either 1-day climbers with noob packing skills, or overnight climbers with expert packing skills. “Expert” is a big word, but I’ll take it!

Hello Reid, Yocum, and Sandy!
Traversing the Reid Glacier is generally low drama. We watched our new friends begin to make their way up the Leuthold Couloir as we parted for the main bootpack and to make our way down lower and lower. Illumination Rock was eventually distinctly above us as we neared the high crossing point of the Yocum Ridge. “Damn, we lost a ton of elevation!” The climbing looked a lot more mellow than we expected. However, according to our limited beta, there was an even easier crossing down low. I didn’t like the way it looked, but hell, why not see.
It became immediately obvious that the upper crossing was the optimal choice as we descended lower and lower. Not only would we have retained some of the last remaining bits of our hard-earned vertical gain, but the lower crossing had quite a bit of overhead hazard from loose rock walls and seracs. “Damn…let’s get it done anyways.”
After a bit of zigzagging and traversing, we found ourselves at the base of the Yocum, being treated to one of the most excellent views of Mount Hood I’d ever seen rising above me. This was a perspective to see it from. Wow, did the Sandy Headwall tower above us. The Cathedral Ridge split the horizon ahead of us.
After a long break, we dropped into the Sandy Glacier, and navigated our way through a field of sastrugi that I’ve never seen like in the Cascades before. The Cathedral Ridge rapidly neared closer as we nearly ran across the bowled glacier. The real challenge of the day was not just the vertical feet gained, but the vertical feet lost and regained over and over.


Climbing the Sandy Variation, mostly
By this point, the sun had been beating on us, my lack of sleep was catching up, and the pack was feeling heavy. Let’s just go a bit more, why not the high camp today, I told myself. Jess also has the same thing in mind.
“You wanna go for the Sandy Gully and get to the high camp?”
“Yeah, I don’t wanna lose more vert today.”
We aimed for the gully, now with the sun directly overhead. But no matter how much I wanted it, I couldn’t deny that I was getting gassed. Every step was feeling like a chore. And the periodic dodge and whizz of falling ice and rock over our heads was getting old.
Looking at the ridge of the gully beside us, I was fairly certain that if we pulled over it, we’d intersect the standard Cathedral Ridge route. Finding a nice camp without another hour of work ahead sounded appealing enough to give it a shot. I scrambled over the ridge, dodging bullets on the way up. Indeed, the ridge was nice, nice and safe from falling crap. Ah, thank god.
We looked up and down the ridge, and quickly identified a well-protected perch. That would be home for the night. The sound of falling rock and cracking seracs below would have me jump out of my sleeping bag a few times over the next few hours. Home for the night.


Day 2: THe CLIMB
A cold start
12am, I woke up shivering. Fuck tonight is cold. The forecast said 0C, but this has got to be way colder. I shivered in and out of sleep for the next few hours until our alarms finally rang at 5am. Jessica ran out to get the stove pot while I huddled in my sleeping bag. Her French-Canadian blood was doing her well. I screwed in the canister, accidentally left the valve open too long, BLAWW FIREBALL. Sorry tent, you are now missing a bug net.
The sun eventually started to peak over the horizon; that was our cue to get moving. I stuffed my granola bars down my throat while packing up my sleeping bag. When I finally popped outside it was 6:15am. The sun was nice to feel, it made the breeze less frigid. I stuffed the tent down into my pack and made the most solid little bundle I possibly could.


The Sandy drop-in, every way’s the right way
We aimed upward and started walking. The “official” route would have us walk towards the cliffs ahead and find a drop in going to the Sandy gully we had just climbed part of the day before. We made the quick decision to skip messing around with the “official” route and just drop down where we had scrambled up the previous day. The cliff formations looked confusing, and we didn’t want to dink around and waste time. Our old crampon tracks led the way.
The Sandy gully was in far better condition this morning. There was exactly zero icefall, a very very nice change from the day before. I felt really good, coffee buzzing through my veins, we marched up the gully. The snow eerily had what looked like a massive bootpack kicked in by hundreds of climbers. But it was not. There we no hundreds of climbers here. Just us and the erosion by the millions of fallen rime formations we’d have to climb under for the next few hours.
Getting to the top of the gully, the ridge at 8900’ didn’t look anything like I saw in the few pictures I managed to find. In the guidebook, at this very spot, there was a photo of a “happy camper” proudly standing beside his tent platform he had apparently just dug into the side of the ridge. The ridge was a mix of blocky jumbled rock and rime. Well, I’m glad we didn’t try to camp here last night.

Gaining the ridge, an intro to route finding
I traversed a bit and climbed the next closest gully ahead and popped up on the ridge above- woahhhhhhhh! The Ladd Glacier poured below us, the upper Cathedral Ridge and Sandy Headwall towered above us, and the lower mounted dropped below our feet. “Okay, I think I know where we are going!”
Well, it turned out that the “next closest gully” was the wrong gully. The ridge ended up breaking off entirely, dropping into a cliff below our feet. A little part of my gut saw this little notch earlier and knew it would make for a little stumbling block. Next time I have to follow my gut. We down climbed and went up a parallel gully. 30 minutes burnt, route finding really is the crux of this route.

Left or right? The traverse section
We made our way to the formation ahead of us, aiming to traverse left around it. I peaked over the ridge, “no way in hell am I going left”, as I looked at series of thin ice runnels going through the rocky cliffs. I looked down at my map, checked my GPS, and looked back at the cliffs. Well, I don’t care what I’m reading, that cannot be the right way. To the right around it looked like a traversey snow slope. It would be a pain to traverse with no end in sight, but that is where we would go. I began punching my way through the slope, one step at a time. The surface varied between beautiful neve snow, to pure ice, to rime debris. The more I kicked, the more I could see my left crampon wiggle. Dammit ultralight dyneema crampons, you always fail at the worst moments! (Is there ever a good time for a crampon to fail..?) Every few kicks I hammered my crampon back into place. Kick kick kick, hammer hammer hammer, repeat.
After about 10 minutes of traversing without a clear end, Jess and I wondered if we were just traversing endlessly into the cliffs of the Sandy Headwall. “If we go for more than 15 more minutes, we turn around,” we agreed. Kick kick kick, hammer hammer hammer, repeat.
Eventually an end in sight did come, the crux tower appeared overhead. I checked my watch, it read 9200’, yup, that must be the crux above us. Now we just need to choose a path that will take us there.


The crux approaching the crux
Moving upward, the reconnection with the ridge-proper came back into view. When people think “knife edge”, this is what they are thinking about. We briefly discussed our options. Either we could make the delicate traverse over the ridge. Or we could downclimb into the shady iced gully below us and climb straight up. Jess convinced me to go over the ridge, and I somewhat skeptically took the lead. After about 2 minutes of negotiating an unprotectable bouldery block that would certainly involve complicated downclimbing if I managed to get over, I called it off. “This is stupid climbing, I’m gunna hurt myself badly.”

I stepped down, pounded in a picket that bottomed out halfway, clipped it, and began downclimbing into the gully. The ice was far better than I expected, but the overhead hazard of the ridge’s rime formations loomed above. I had to make a decision- do we go fast to escape the overhead hazard and run this thing out without protection, or do I put in screws? Compromise- I’ll put in one single screw. I climbed up 15 meters, put in a screw, ran out the rope to the safest spot I could find, and put Jess on belay. Safe-ish. “You’re on belay, climb on!” Jess followed. As Jess got to my single screw, a big creeeeek reverberated from the ridge above her. Three watermelon blocks of rime baking in the sun decided to let go right above her. “Ice ice!” In slow motion, I watched the three watermelons slide towards her as she go to the screw. Dammit, shouldn’t have placed the screw. She managed to dodge two of the blocks, but the third one slammed into her arm. It obviously hurt, but it was not an injury situation. She finished taking out the screw and climbed up to me. The sun was beginning to bake the ridge above us, and it was starting to become serious. Yeah, we need to get out of this gully.
We climbed up to the ridge above us, with the crux rock pyramid dead ahead. I looked at the notes I had, instructing me to climb over the ridge and into some rock cliffs. “What…? That can’t be right. Okay, let’s go check it out.”
There was an “inviting” looking rime tunnel leading to the cliff. It called to me in a fairy-tale-witch-voice my imagine conjured up- climb into me, I’ll lead you there or eat you alive. It was not a proposition I wanted. Not wanting to be Hansel and Gretel getting sucked into the house of candy and being made into a soup, I opted to just climb over the ridge and see what happens. “Oh this is not so bad.”


Making our way over to the ridge to traverse to the left of the 9700′ crux
That feeling when the crux is the easiest part
Around the ridge, a beautiful glistening couloir of alpine ice laid ahead. Wow, this is actually some nice climbing! This was clearly safer and easier than all the funky stuff we had just done. We took a quick break straddling the ridge, knowing that after this it was mostly mellow terrain. Ahhh nice to get some sun…and let’s pretend there is no wind.
I geared up and took the lead. The climbing looked straightforward enough, and indeed every kick into the ice was solid. There appeared to be zero overhead hazard, a nice change for the day. I climbed over the remnants of the cured wind slabs that probably just a few weeks ago would have been harrowing. I placed one piece of directional protection, two half-screwed screwed with a sliding X (would you whip..?) and chuckled to myself about what Jessica would have to say about it. I climbed on, weaving the rope between rocks, too lazy (ie. “efficient”) to actually sling them.


I perched myself on a rock for a belay and took Jess in. “Man, these 30-meter pitches are inefficient.” We swapped gear and I climbed on.
I played the same game, weaving the rope between rocks rather than placing protection. I really wanted to bang these pitches out- ain’t got no time for screws or slings! Eventually we could see the ridge above come into view decided the terrain was moderate enough to just simulclimb. I continued the rock weaving game for good faith. People totally underestimated the “buddy-belay” on Mount Hood I think. (Plus, Jess and I are married. The plan is to come home together or not at all.)


Connecting onto the upper Coe Glacier to finish off on the upper ridge
The Upper Coe, Queen’s Chair, and sweet success
Eventually the Queen’s Chair dramatically came into view above as we hauled our butts into the upper Coe Glacier. “I’ve never been so happy to see the Queen’s Chair”, Jess said from below. I couldn’t have agreed more. We still had a bit of way to go, on the very active Coe glacier. I pulled out a few more meters of rope from my bag and we tied a few butterflies. The bergshrunds on the Coe were bigger than I had ever realized from below, and I didn’t want to check what may be lurking under the snow.
From that point forward I think I checked my altimeter every 2 minutes. From there on out it was just a plod to the summit. We crossed by the Sandy Headwall exit- awesome. Then the Yocum- even closer. Then the Leuthold Couloir exit- oh thank god a bootpack. Plod plod plod.
Eventually we’d reach the famous catwalk to the summit ridge. We had no intention to see the summit another time. It was 2pm and we wanted to go home. We aimed for the Old Chute and made our way down the sun baked snow. For having a few hundred people here over the weekend, the mountain was empty. Success.

In Conclusion
This route is a lot “bigger” than I expected, and definitely longer than what the bottom-to-too vertical gain implies. I originally didn’t quite understand why the Mullee book estimated 9-11 hours for just 4000’ of gain on the quoted AI2 terrain. But there is a lot of up and down, and maybe if you took the perfect line on the perfect day you could climb this in only AI2, but expect it to be similarly technical as, say, The Devil’s Kitchen Headwall. We made it in under the estimated time, but we were still seriously exposed to some dangerous overhead icefall when climbing below the ridge once the sun came up. I’d certainly want to be faster than 9-11 hours on the route.

Beta
Because of the very limited amount of info out there about Cathedral Ridge, I’ll share a bit more than I normally do. Note that conditions change frequently and that the below may not be applicable to when you get on the route.
(This is an expanded version of what you’ll find on the route’s Mountain Project page that I created.)


| 7800′ | Low camp option |
| Climb to the left of the ridge | |
| 8050′ | Alternative camp site |
| Climb to the left of the ridge | |
| 8600′ | Drop into gully to the right, getting onto the Sandy. It will look like you are going off a cliff, but it’s only a few foot down climb. There are plenty of good drop in points between 8150′ and 8600′, so don’t get too hung up on finding the “correct one”. |
| 8900′ | Seasonal camp site |
| Traverse right around large rock formations, you may feel lost here | |
| 9350′ | Gain the ridge again. The ridge is not continuous, so you will need to use your best route finding judgement here. You may need to drop into some gullies and climb out. Beware of falling ice off the ridge above. |
| 9700′ | “Crux” rock formation. Traverse left around it, this may appear unintuitive from below. (Whether or not this is actually the most challenging part of the climb is highly debatable.) |
| Climb the gully straight up above, good rocks to weave protection | |
| 10150′ | Intersect another rock formation on the gully. Go left onto the Coe or right around the formation. |
| The Queen’s Chair should enter site very distinctly, climb towards that | |
| 10800′ | Finish off on the Queen’s Chair |
UP NEXT: More “Big Mountain” Hood RouteS

Mt. Hood, The North Face
The North Face has been especially appealing to me. The face is really defined by two significant gullies running almost completely from bottom to top, reminiscent of some sort of double barreled musket. It’s the sort of feature one would should really only climb when conditions are solid, otherwise it would be a game of…

Mt. Hood, Sandy Glacier Headwall
A year ago, Jessica and I climbed a route on Mount Hood that we had been eyeing for quite some time, the Cathedral Ridge. The route was just as dramatic and stunning as we had expected. What neither of us expected was to be as awestruck when we crossed over the Yocum Ridge and were absolutely awestruck…
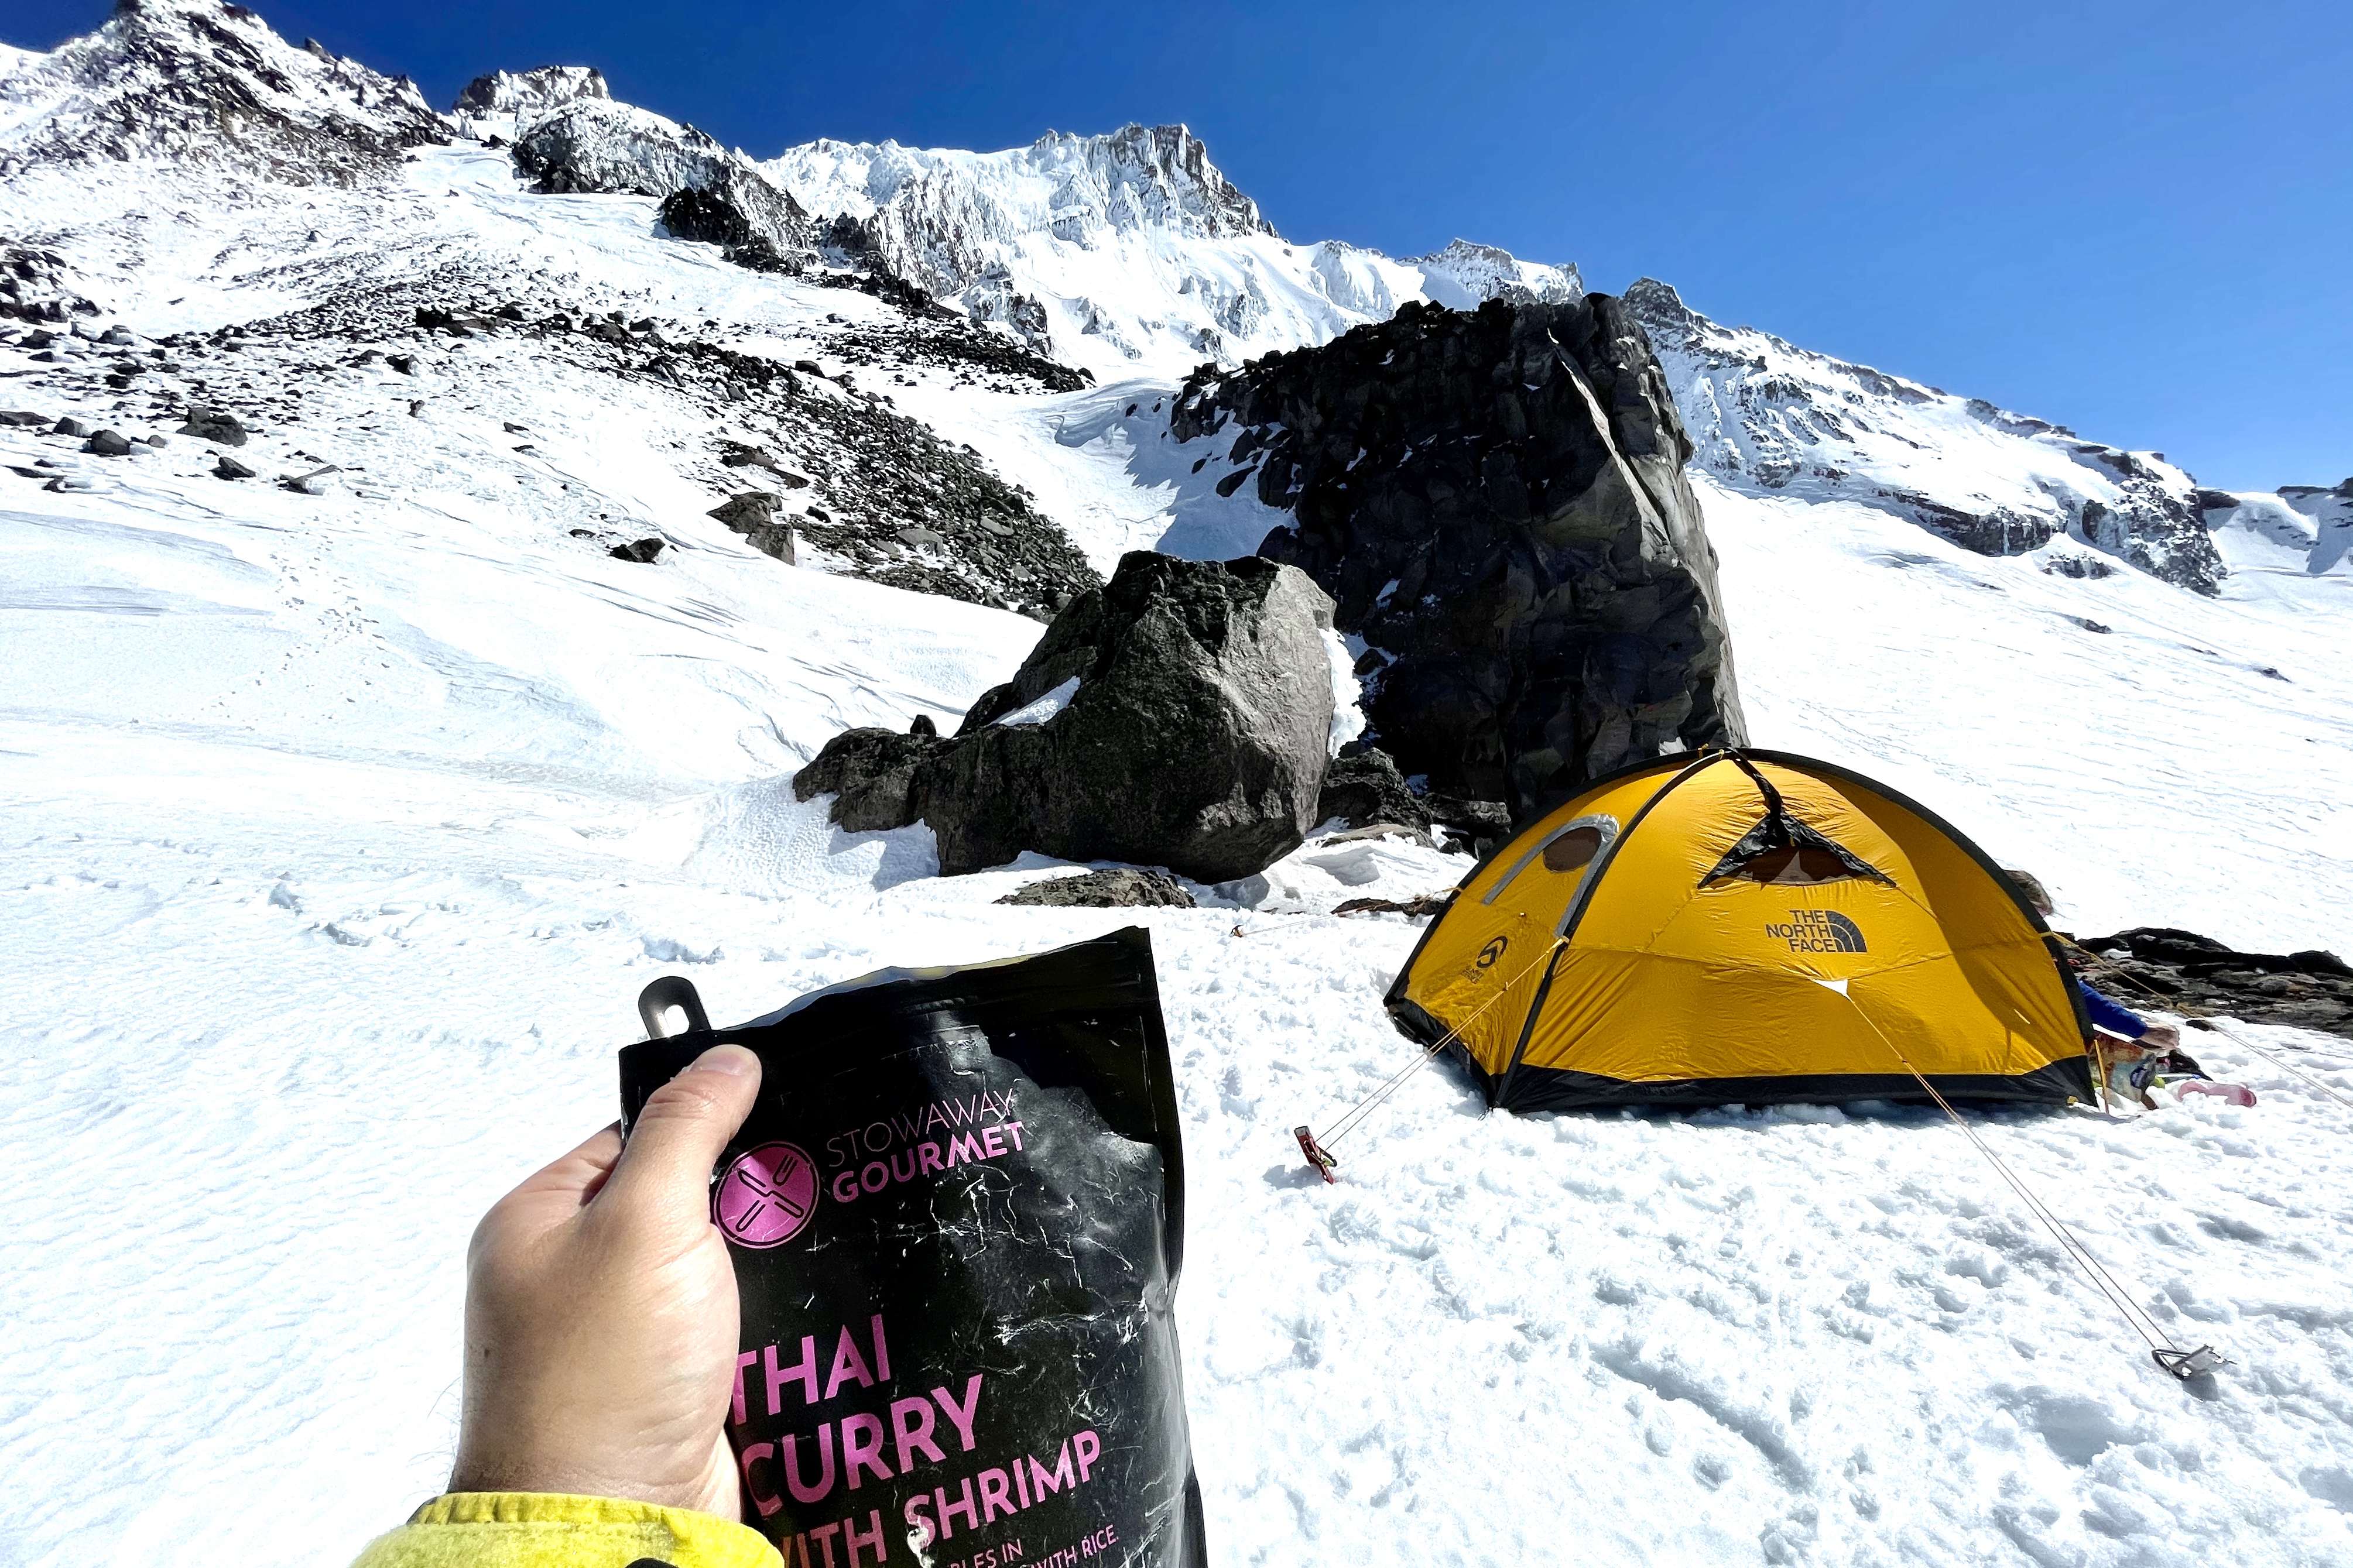
Big thanks to Stowaway Gormet for supporting my 2021 climbing season! This is a brand that I fell in love with prior to my official partnership with them. These are by far the absolute best backcountry meals I’ve ever had, and I’m psyched to be eating them all year! Check out my meal reviews here!
Jessica and Chris, wonderful TR and photos. Thank you.